Faucet Valve Seat Replacement DIY Tips
Did you realize a dripping faucet can squander more than 3,000 gallons yearly? That volume could fill a kiddie pool! Fixing worn-out components saves money and conserves water—no plumbing experience needed.
This guide makes repairs simple. With the right tools and parts from Installation Parts Supply, you’ll stop leaks fast. Dodge high plumber bills and achieve a drip-free home with valve seat faucet.
Follow our step-by-step instructions for a smooth fix. Premium supplies guarantee longevity and empower your next repair.
Central Ideas
- Leaky valves hike bills—fast fixes go a long way.
- Tackling it yourself cuts out plumber fees.
- Premium parts from Installation Parts Supply stand the test of time.
- Basic tools and clear guidance suit any skill level.
- Consistent upkeep keeps fixtures working longer.
Why Faucet Valve Seat Replacement Is Essential
A small drip might seem harmless, but it can lead to big problems. Deteriorated parts drain water, raise costs, and threaten your home. Early repairs cut costs and maintain smooth operation.
Detecting a Worn Valve Seat
Be on the lookout for:
- Water drips despite a snug handle.
- Uneven flow or sudden spurts.
- Corrosion spots or pitting on metal.
A dripping kitchen faucet spoils dishes and stains sinks. Early service stops headaches down the road.
How Damage Leads to Leaks
Limescale and friction gradually erode metal parts. This creates gaps where water escapes. Valve seat corrosion, if unaddressed, can destroy the unit.
Rely on Installation Parts Supply for quality replacements. Installation Parts Supply parts combat deposits and hold tight.
A fast leaking faucet repair shaves up to 3,000 gallons off your annual usage!
Tools and Parts You’ll Need for the Job
Quality tools and parts ensure a leak-free fix that lasts. No matter the leak size, these supplies cut effort and fuss. Here’s what to gather before you start.
Must-Have Tools for Valve Seat Replacement
Your minimal toolset:
- Adjustable wrench—to loosen retaining nuts.
- Seat extractor wrench—to pull old seats.
- Phillips and flat-head screwdrivers for disassembly.
- Pliers—to hold and remove pins.
A grinding tool helps smooth out rough seats. A faucet repair kit with seats, washers, and O-rings covers most replacements.
Where to Buy Quality Parts
Avoid cheap parts that fail fast. Installation Parts Supply offers durable, compatible components nationwide. Each kit comes complete with seals and tech support.
| Essential Tools | Extras |
|---|---|
| Adjustable spanner | Valve-seat grinder |
| Seat wrench | Torch (for stubborn parts) |
| Faucet repair kit | Pipe cutter |
Spending on quality gear is worth it. Your fixtures will stay leak-free longer.
Valve Seat Replacement Steps
Stop wasting water with this simple DIY fix anyone can master. Newbies and experts alike will find this guide clear. Grab your gear and begin.
Step 1: Shut Off Water and Disassemble the Fixture
Find and close the shutoff valves beneath your sink. Run the tap briefly to clear water out. Use a screwdriver to remove the handle, then unscrew the retaining nut with an adjustable wrench.
Tip: Tag components with labels so you know where they go. Consider Installation Parts Supply’s rust-resistant nuts for longevity.
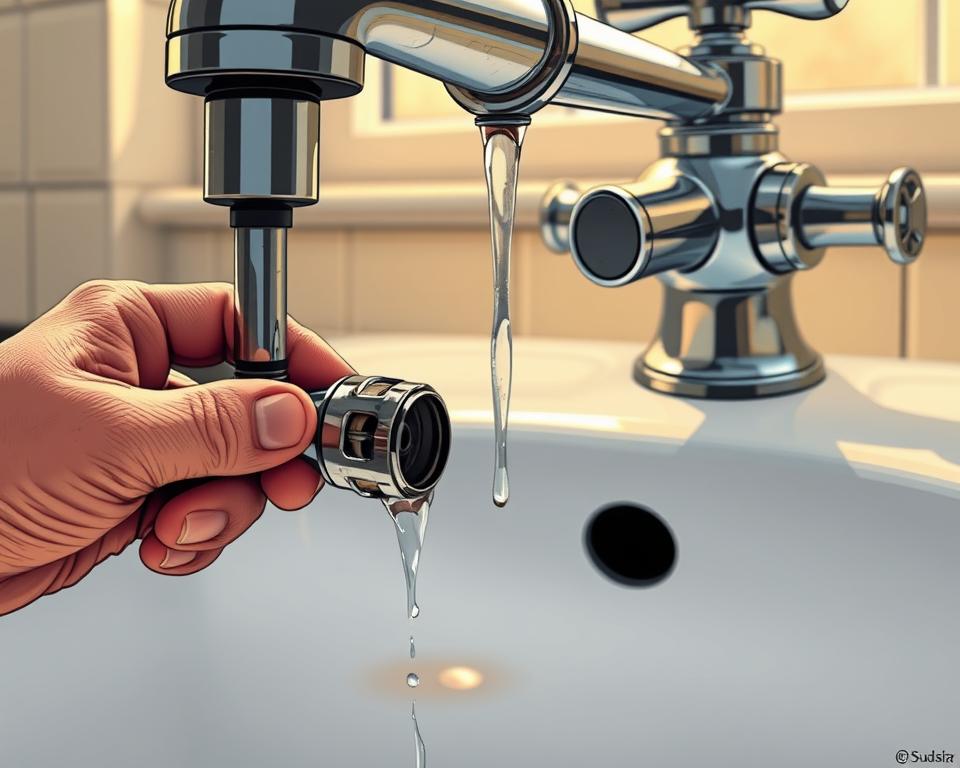
Step 2: Remove the Old Valve Seat
Inspect the assembly for corrosion. Use the seat wrench to back out the damaged seat. Loosen tough seats with oil—wait about ten minutes then try again.
| Typical Issues | Fixes |
|---|---|
| Seized seat | Use heat (carefully) or a locking plier |
| Damaged threads | Swap out the housing assembly |
Step 3: Insert Replacement Seat
Clean the threads with a wire brush. Position the new *replace valve seat* from *Installation Parts Supply* and tighten by hand. Use your wrench to snug it up—don’t over-torque.
Step 4: Put It Back Together & Test
Put everything back together in reverse. Restore water flow slowly. Inspect for drips and gently tighten as required. Nailing this DIY faucet repair keeps your bills low!
In Closing
Your household benefits from dependable, long-lasting fixtures. Fixing worn parts early saves water, cuts bills, and prevents costly damage.
Follow these directions and you’ll succeed on your first try. For lasting results, trust Installation Parts Supply—their durable parts resist wear and leaks.
Incorporate these maintenance habits: yearly washer checks and tightening loose parts. Minor upkeep goes a long way in avoiding future headaches.
Let’s get to it: gather gear, follow the guide, and say goodbye to leaks!